
Foreword by Joe Martin
Mods are great things and, here at bit-tech HQ, we can’t get enough of them. We scour the Internets all day, everyday looking for mods great and small. Some of the ones we find are truly great, whilst others are truly bizarre.We know that there are a lot of people in the bit-tech community that don’t have the ability to make some of the more fantastic modifications though or who are lacking the confidence to plunge straight into the deep end of the modding world. Those people want something smaller than a full case mod which they can pop their modding cherry with. So to speak.
Over the years we have seen a number of cool USB key mods, from Pez dispensers and plastic sushi to thumb drives inside realistic-looking human thumbs! USB key mods are great because the part are cheap, and the possibilities almost endless.
The latest is this, Project Enter the USB. It’s small enough that anybody can do it and it doesn’t require much in the way of tools, but at the same time it’ll leave you with a quirky little conversation piece for your next LAN party. So, whether you’re an engraver with Dremels for fingertips, or a n00b who doesn’t even know what the hell a Dremel is, the Enter The USB mod is a good one to try.
The only thing left for me to do is to hand you over to Kurtis Kronk, who originally wrote the guide for The Tech Lounge but who has agreed to be our guest modder on this occasion.
Introduction
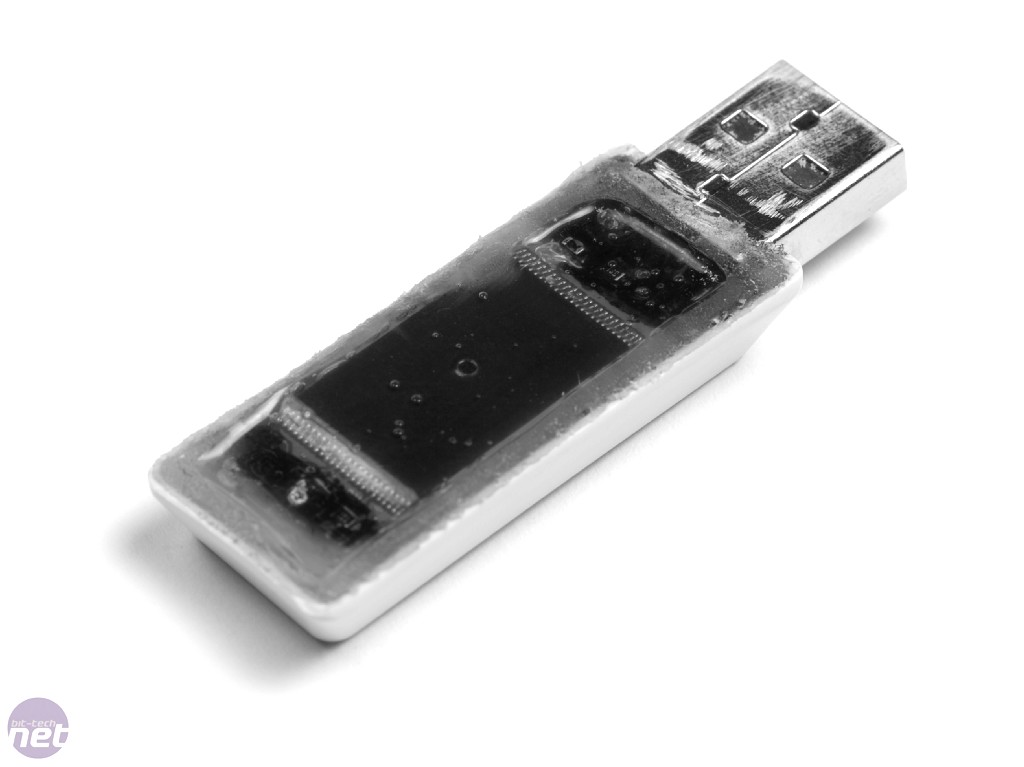
Back in March I posted about a Customized USB Drive that I thought was pretty cool. Someone took an el-cheapo USB drive and stuck it inside a Lego brick. In the same post I talked about a quick-and-dirty USB drive mod of my own, the Electrical Tape USB Drive. Basically, it was a clunker I picked up at CES that fell apart, so I removed what was left of the casing and wrapped it all up in electrical tape. Funny thing is, it's so fugly that when I recently forgot it in a school lab it was still there a few days later. Things might have been different had it been a SanDisk Cruzer or Corsair Voyager... or if it didn't have "62.4MB" written on it.

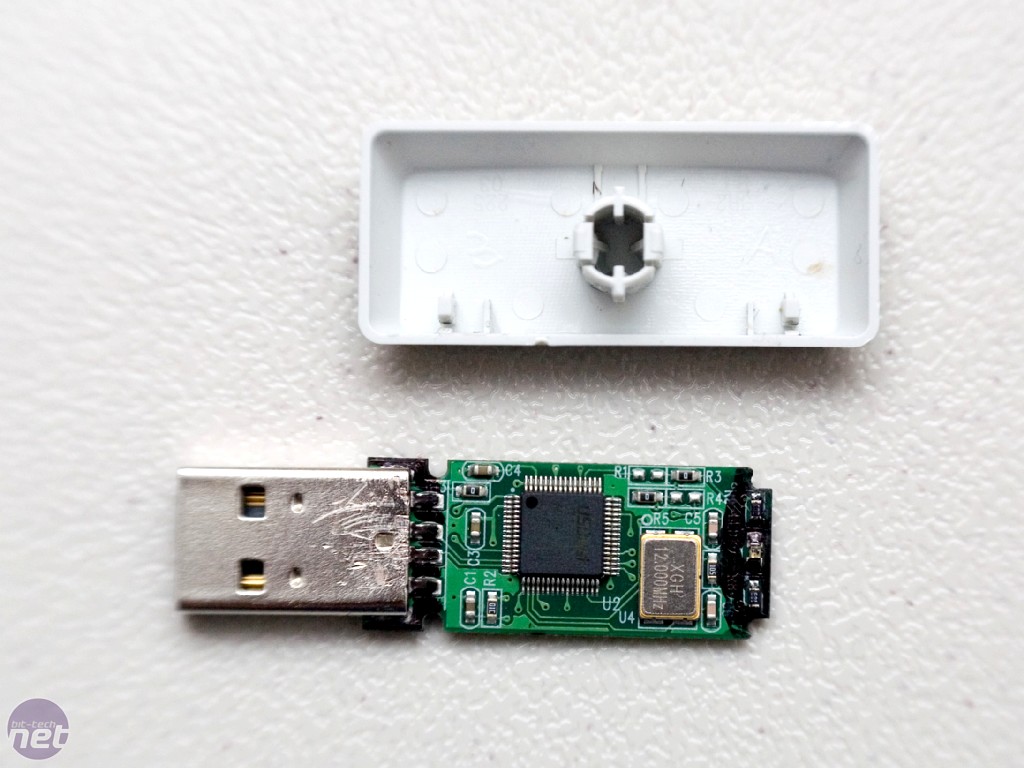
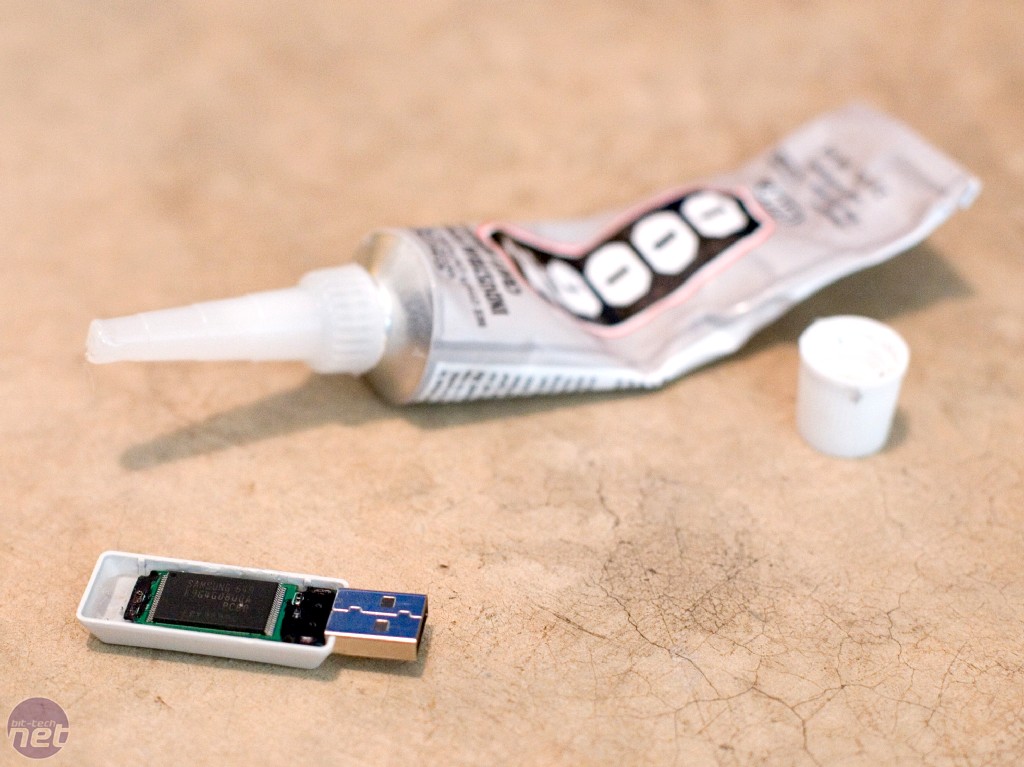
The USB drive in question, sans cover. Click to enlarge
As simple as my electrical tape USB drive mod was, I had a good time making it and decided to come up with another, different USB drive mod. Luckily, I had another USB drive, which I'd also received from CES, but this one was a whopping 512MB - yeah, they make 'em that big these days... Unfortunately, as it were, this one wasn't quite so fragile, and I actually had to punish it thoroughly before I could get the casing off. But I'm getting ahead of myself...
In this article I will walk you through Project: Enter the USB Key from conception to finished product. Step by embarrassing step. No detail spared. So in-depth you'll need a snorkel.
Let's get on with it...
Getting Started
Once I had successfully freed the USB drive from its lame shell, it was time to think. Whatever am I going to put this little thing inside? And so the search began. I thought about doing a better Lego mod - unoriginal; ChapStick - too thin (I've been informed that somebody else has made a ChapStick USB drive); film canister - too fat; USB cable shell - too short; gutted iPod - too spendy. Hmm... nothing on my desk was really striking me as a great idea. So the search continued. To the closet! As I rummaged through piles of miscellaneous electronics, cables, and computer accessories, I paused as I held an old keyboard in my hand.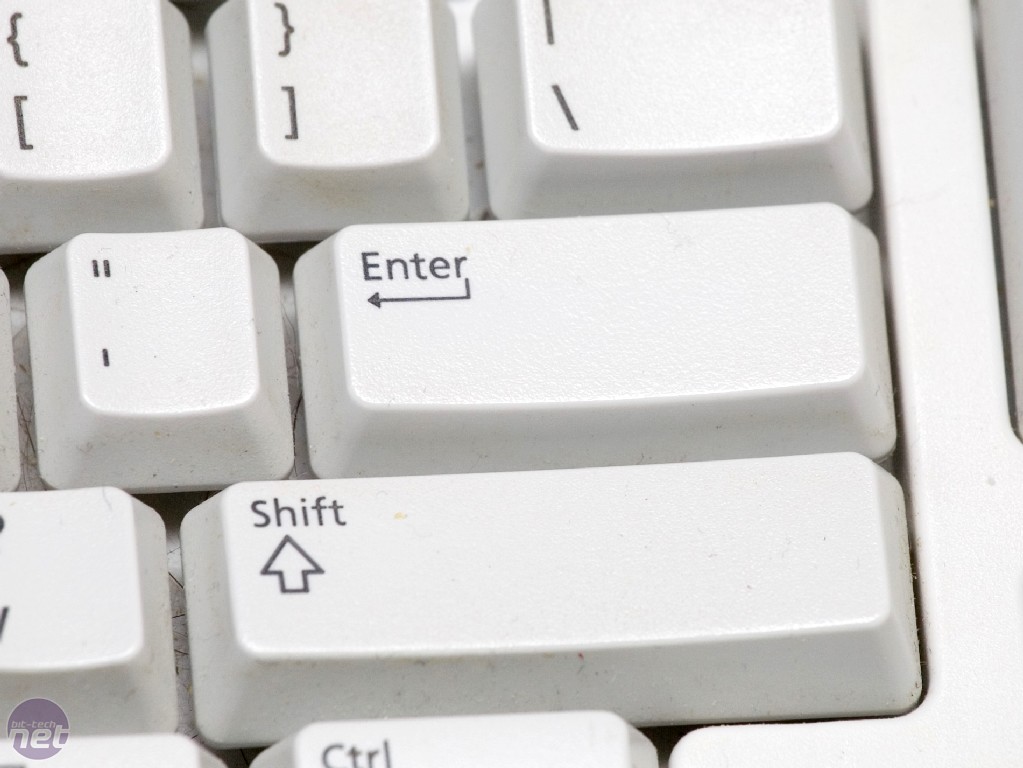
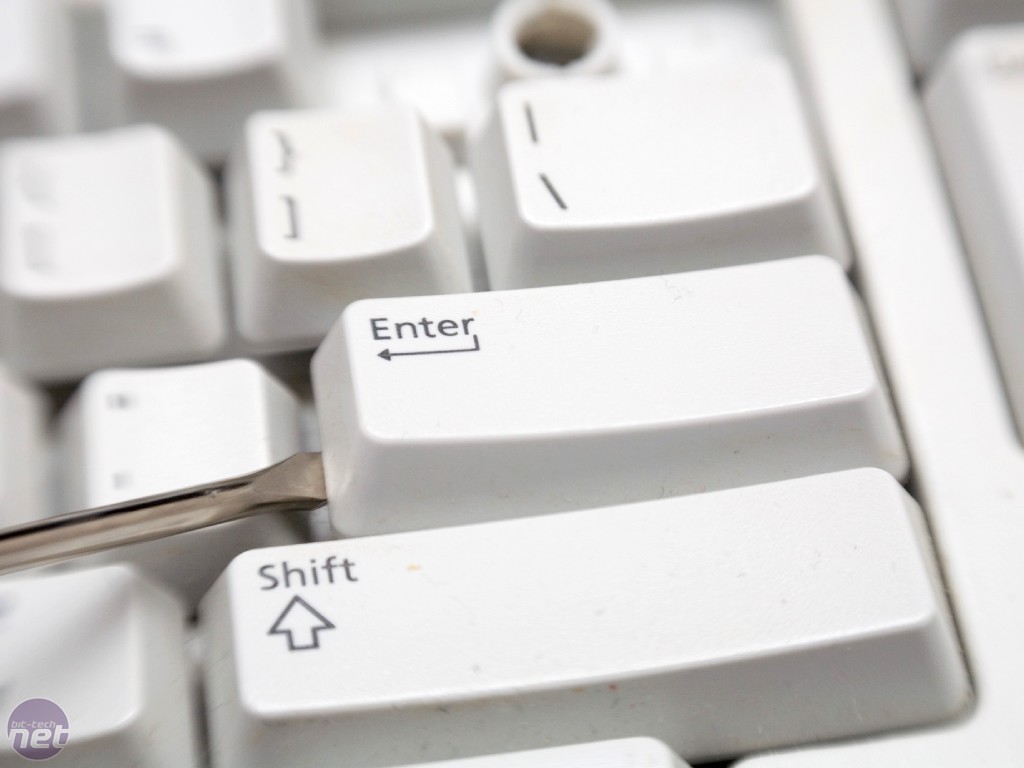
Removing the key, click to enlarge.
What to do with a keyboard, though? The PS/2 connection isn't large enough to accommodate the USB drive, and the keyboard is a bit bulky to be useful as a USB drive. Think, Kurtis, think.
As I stared at the keyboard, I noticed some tasty treats (well, they used to be tasty) peeking at me from between the keys. Gross. Ah, wait a second, the keys! Oh sweet, blessed keys.

Yuck, it can get quite dirty down there! Click to enlarge, if you must.
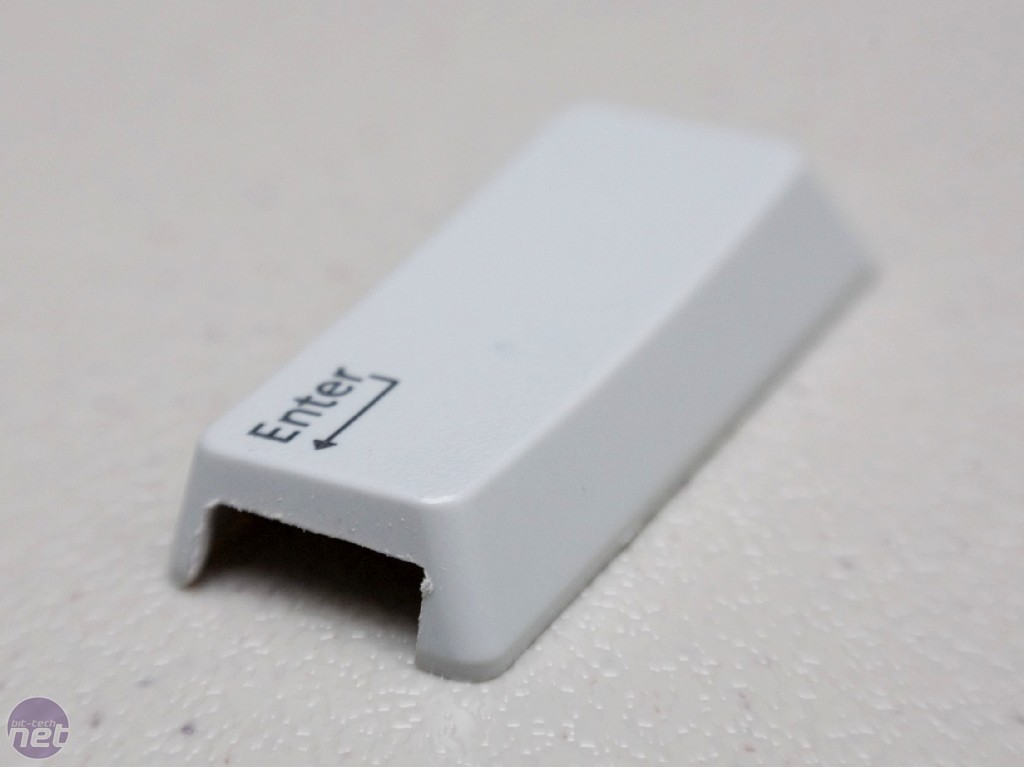
There are a decent number of keys on the keyboard which look like they could be just big enough to squeeze a USB drive inside: Tab, Shift, Backspace, Enter, Delete, and +. After careful consideration and a quick coin toss, I decided the Enter key would make the best case for my custom USB drive. It sort of makes sense, after all; "Enter" your USB drive into the USB port, with an arrow to help the less technically inclined. Tab is just plain confusing, with the two arrows pointing in either direction, Backspace and Shift don't sound cool, and +... well, + isn't even a word.
Stupid +.
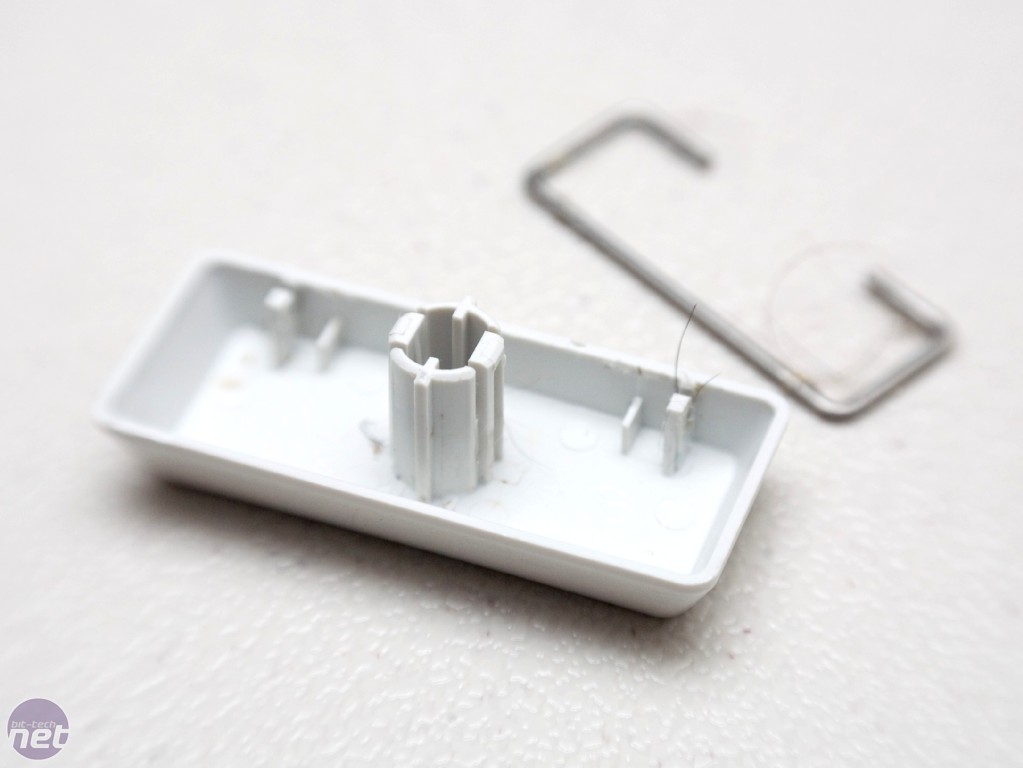
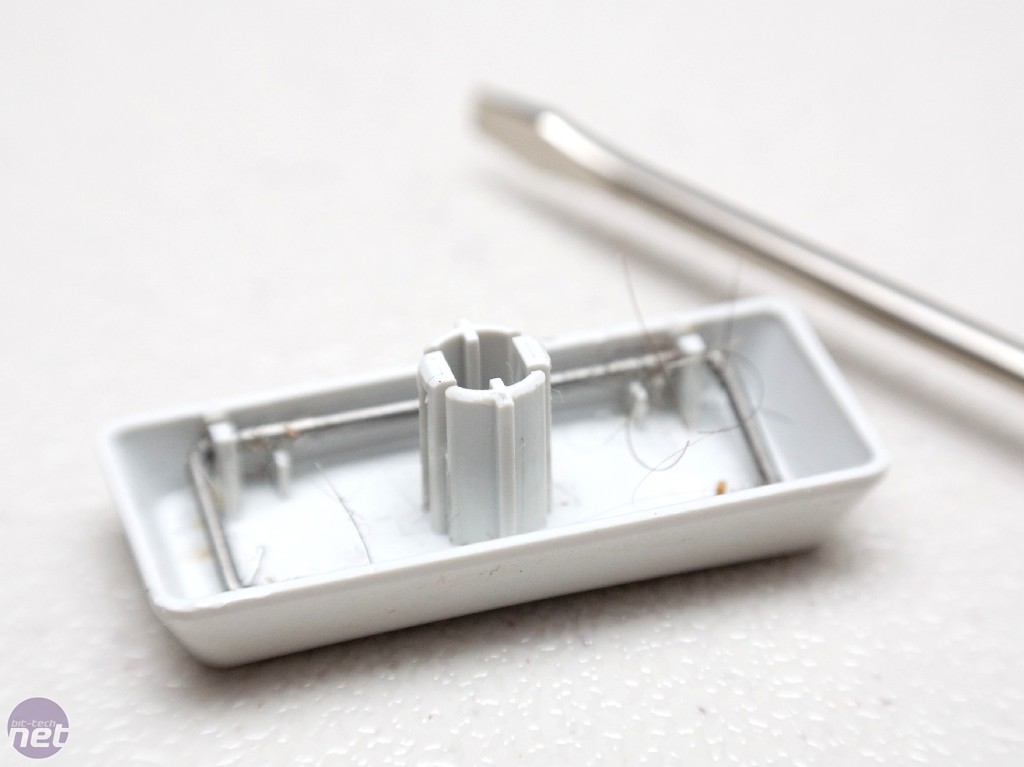
Remove the bracket and you can see how the mod is going to work. Click to enlarge.
Removing keys from the keyboard is easy enough. Using a small screwdriver you can gently pry them off. In my case, the Enter key had a bar stretched across its width to ensure uniform key presses - I just ripped it off. Enter key removed, I check to see if the USB drive fit... and it did - with a little room to spare.
Before hacking away at the Enter key, I decided to perform a practice run on the Backspace key (I only had one old keyboard to work with and didn't want to ruin it, after all). And I'm glad I did.
The Practice Run
As I mentioned, I started with the Backspace key for a test-run. My plan of attack was as follows:- Dremel a notch into the side of the key.
- Sand edges smooth.
- Place the USB drive into the key.
- Pour clear silicone into the key to secure USB drive into place and to allow the back side to be see-thru. However, for the practice run, I actually skipped steps 1 thru 3 because I was mainly concerned with how well the silicone would work as a filler material.
Debrief
I was really glad I did a practice run. The day after I finished applying it, I was not happy with the clarity of the silicone; it was too cloudy. It was also a bit softer than I wanted.So, I decided to use something else for the real thing: an industrial strength adhesive called E6000, which my friend Brian has used in the past and recommended. That being said, about a week later I checked the silicone again and found it to be much harder. Apparently, it just needed more time to set. Still, the clarity wasn't quite as good as I wanted, so I still planned to use E6000 in place of the silicone for the real thing.
The Real Run
After the practice run, my plan of attack remained mostly the same, except for the first and last steps:1. Remove clutter from inside the Enter key.
2. Dremel a notch into the side of the key.
3. Sand edges smooth.
4. Place the USB drive into the key.
5. Pour E6000 industrial strength epoxy into the key to secure USB drive into place and allow the back side to be see-thru.


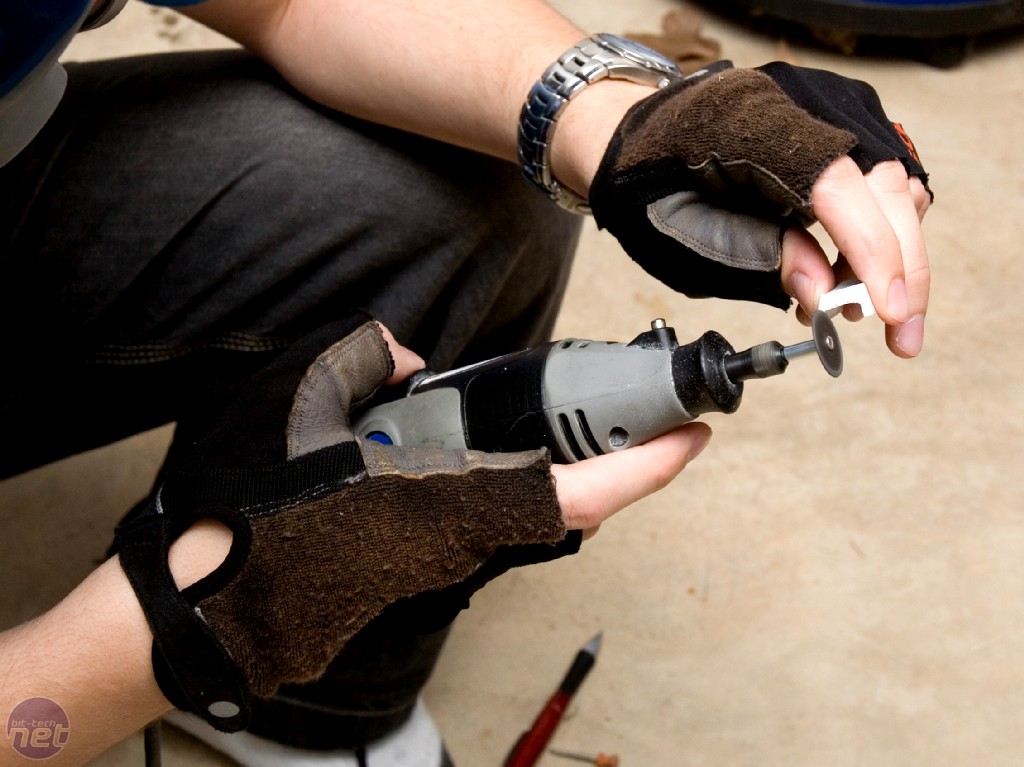
Standard attire for any serious modder. Click to enlarge.
Before pulling out the Dremel, I donned my protective gear. Kids, don't try this at home. I'm a trained, erm... heh... professional. Yeah.
Step 1:
The first thing I needed to do was get the little stub in the middle of the enter key out of my way, as well as the little pieces of plastic jutting out that supported that bar I removed earlier. For the stub, I bashed the key with a large stone. No... why would I do that? Safety in mind, I proceeded with my Dremel and fingerless gloves. 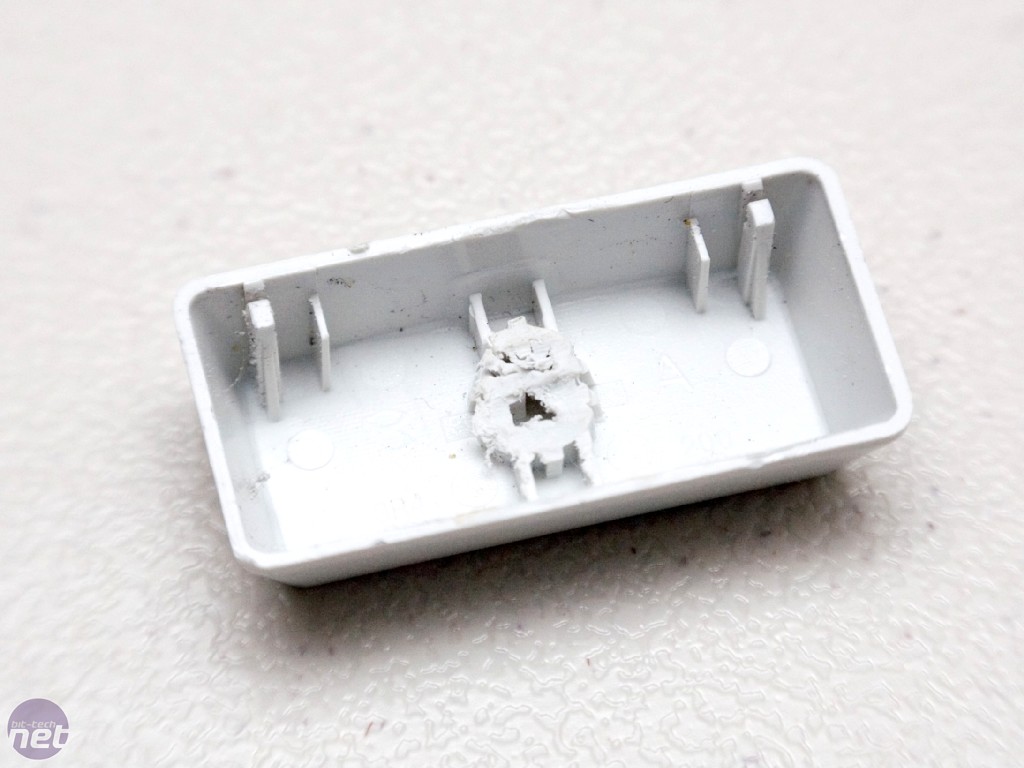
This is where the USB drive will sit. Click to enlarge
The cutting wheel was used to cut in some notches first and then the grinding stone was used to actually remove pieces. Using only the grinding stone on plastic tends to melt it all into one big sticky mess. By cutting notches first, I was able to use the grinding stone pretty much exclusively to remove the little plastic pieces that supported the bar.
Step 2:
Before cutting a notch into the side of the Enter key, I grabbed a pencil and the USB drive to mark approximately how far I needed to cut.Once again I used the notch-then-grind method with the cutting wheel and grinding stone for the side of the Enter key.
Step 3:
I was able to clean it up pretty well with the Dremel, and then put on the finishing touches with some fine grit sandpaper. Care had to be taken with the sandpaper to not round any corners or edges, though.Step 4:
With all the necessary cuts having been made, it was time to place the USB drive inside the Enter key. The fit was perfect, with a little bit of wiggle room.Step 5:
Now for the fun: pouring in the epoxy. The tricky thing was that this part had to be done a bit at a time, rather than all at once, to keep the epoxy from flowing out of the notch we just cut.

A plan comes together. Click to enlarge
So I started by filling the key up to the notch and then setting the USB drive back in place on top of it. I let it set for 24 hours, then added a bit more, and so on, until silicone was up to the top. Once I was completely finished, I let it set for another few days before messing with it, since I used a good bit more epoxy than your typical application.
Conclusion
One extra finishing touch that I didn't anticipate was that, when the epoxy had finished setting, it was a little higher than necessary around the edges and wasn't totally flat. To correct this, I got the Dremel back out and used the grinding stone to get the edges roughly level. Then I grabbed some sandpaper of various grits (from 400 ~ 2,000) and got the epoxy surface flat and smooth to my satisfaction.It isn't perfect and, if I had it to do again, I would have thought of a better way to make the epoxy nice and level without having to take any corrective measures after the fact. I've also thought about whether I should have chosen an opaque filler material, but then there is the matter of painting it to match the key. Overall, I feel Project: Enter the USB was a success.
If you've got a great idea for a USB drive mod, I encourage you to give it a shot. It's cheap, relatively simple, and lots of fun. Feel free to share your mods in our forums, or even submit your project log to go on the front page of bit-tech.
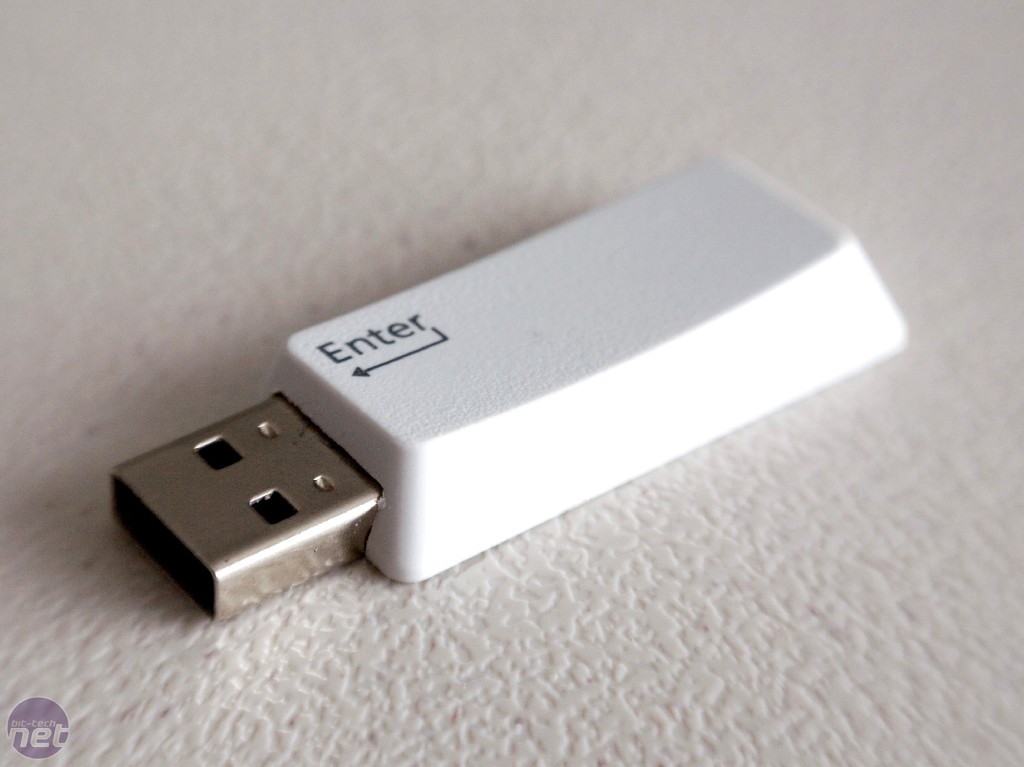
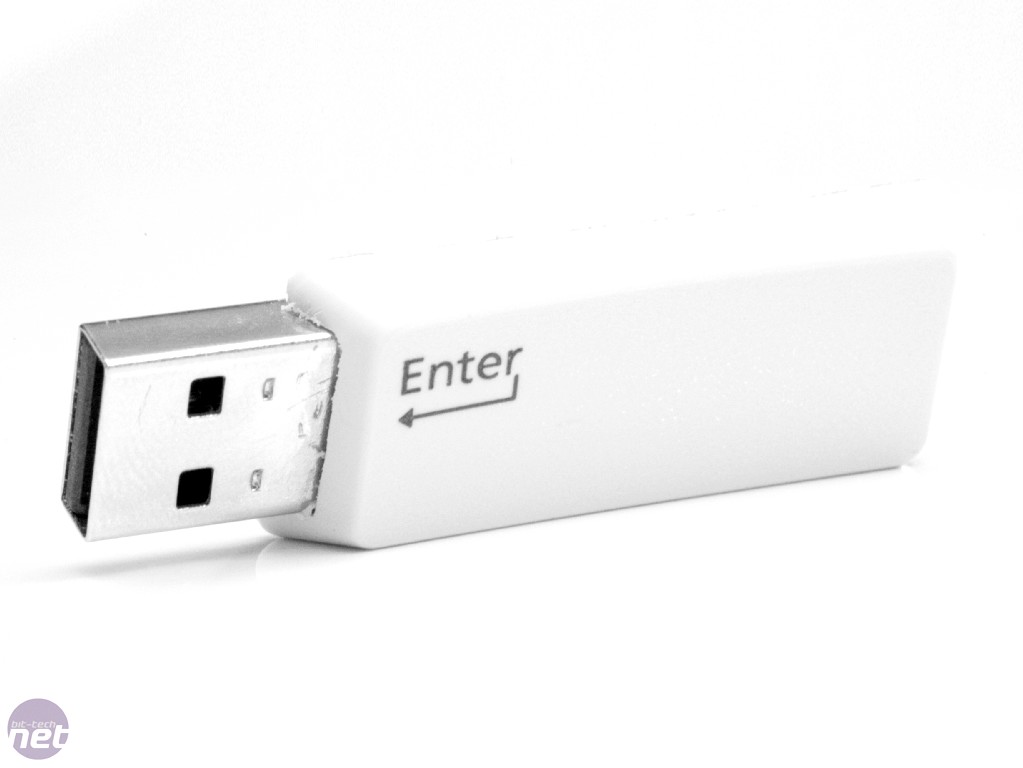
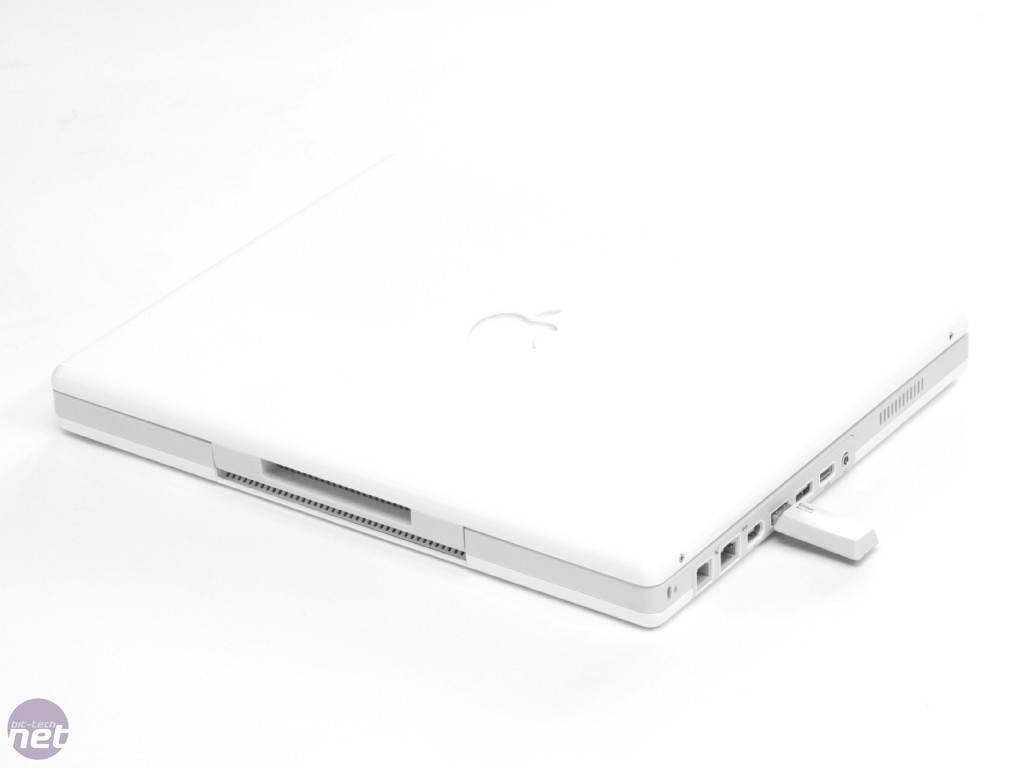
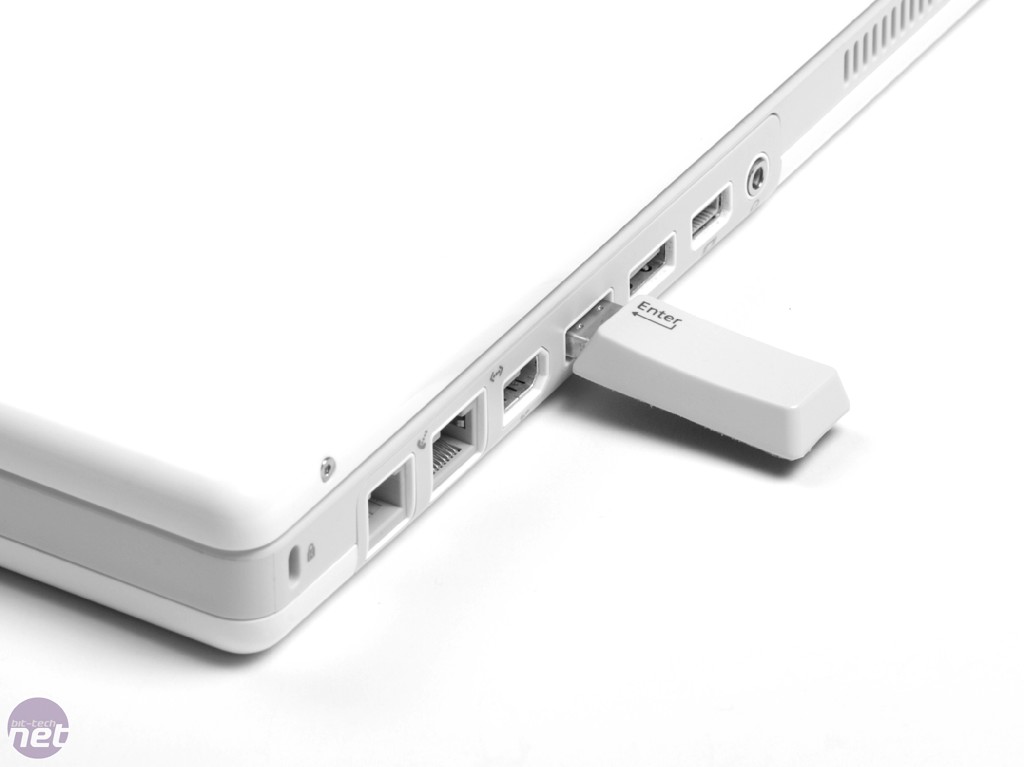
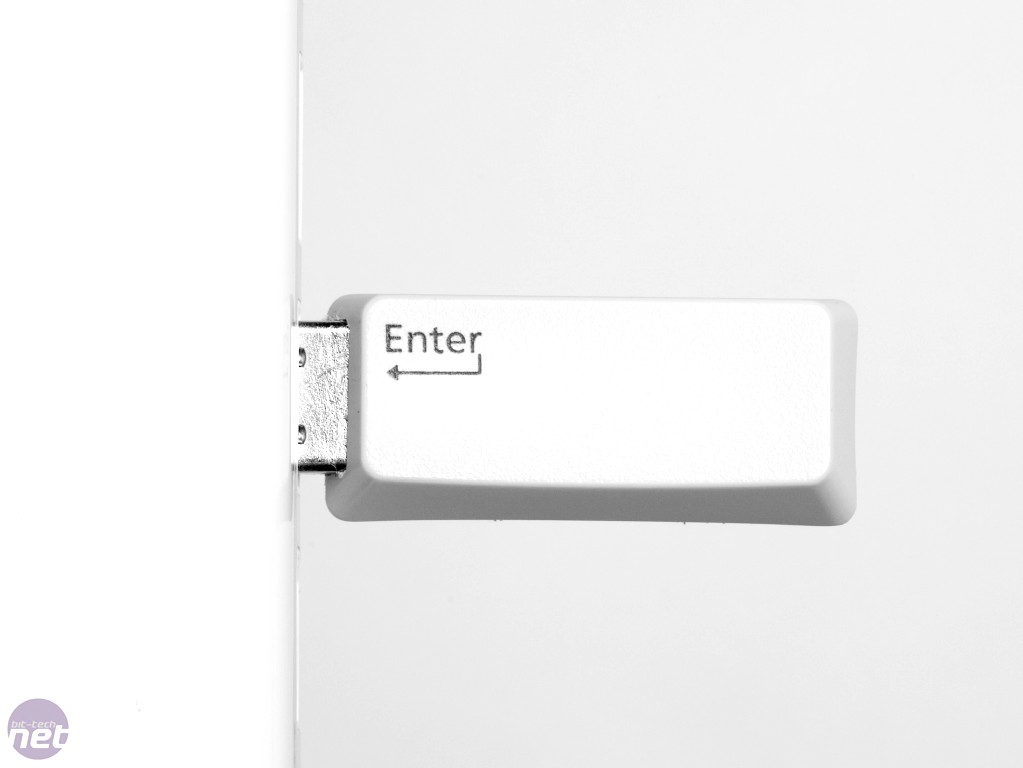
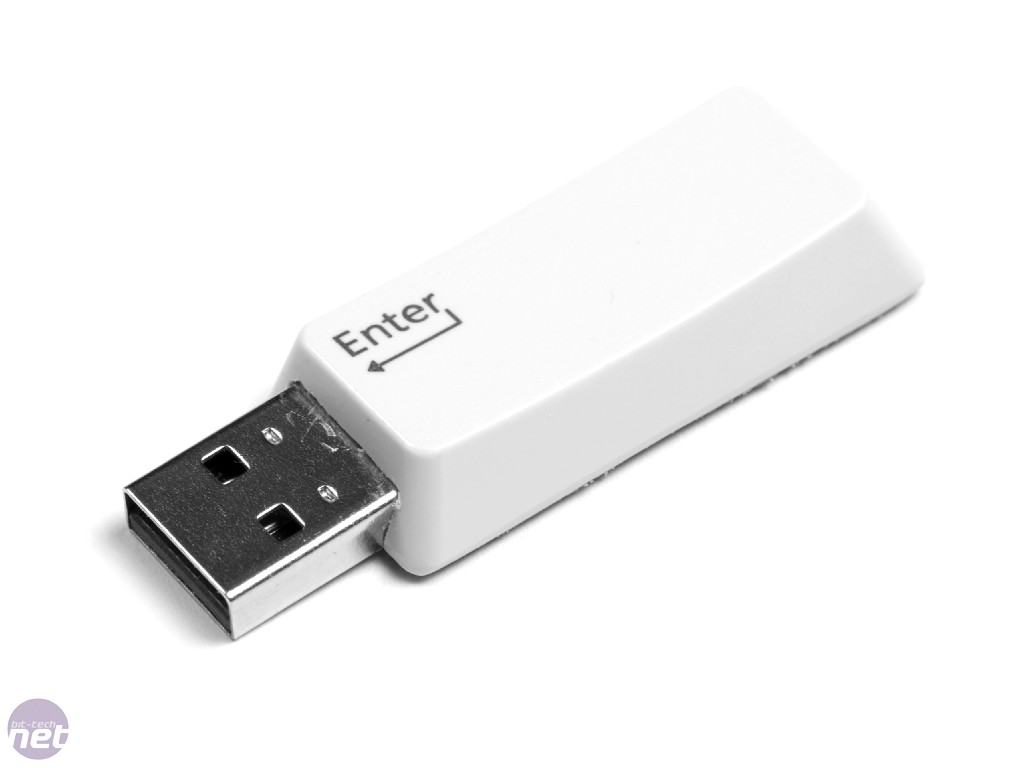
Enter the USB - Photoshoot
The finished article, check out the sweet pictures below!
This article was originally printed at The Tech Lounge and has been republished with permission.


Sem comentários:
Enviar um comentário